Redirecting URLs is an important part of your website’s SEO. Redirects help you avoid duplicate content, improve user experience, and direct traffic and authority to relevant pages.
In this guide, learn how to redirect URLs on WordPress.
Let’s get started.
What Is a Redirect?
A redirect is a way to automatically send users and search engines from one URL to another, ensuring visitors and search engines reach the correct page.
For example, if you delete a page on your site without setting up a redirect, the user sees a 404 error response, which can harm your SEO.
Search engines don’t index pages that return a 404. Plus, any backlinks (also called “inbound links”) pointing to a broken or deleted page lose their value.
So, when you delete a page, first set up a 301 redirect to redirect users to a similar page that serves the same intent.
This way, you’ll retain the old page’s backlinks and authority and ensure users don’t get 404 messages.
You can easily find broken pages and incomplete redirects using a tool like Site Audit.

How to Use Redirects
Use redirects whenever you do a major website update, migrate your site to a new server, change page URLs, or update your website navigation.
You can also use redirects to avoid creating duplicate content and fix keyword cannibalization issues.
When you move content to a new page with a new URL, you can set a redirect so users land on the new page instead of the old one.
Types of Redirects
-
301: A permanent redirect. Use a 301 redirect when a page has moved to a new destination permanently. 301 redirects pass the most link equity (or “link juice”) and work best for SEO.
-
302/307: Temporary redirects. Use temporary redirects when briefly moving a page to a new location, or when you want to redirect users to a new page or website temporarily (e.g., a sales page for a limited-time offer).
-
Meta refresh: Also known as an HTML redirect. A meta refresh is implemented client-side (i.e., in the user’s browser), not on your server. It sends users to a new page after a set time. HTML redirects have several drawbacks and aren’t recommended for SEO.
-
HTTP to HTTPS: A type of 301 redirect that forces browsers to display the secure HTTPS version of a page
Redirects fall into two main categories:
-
Client-side redirects: The browser processes these redirects. A user can trigger a client-side redirect when selecting a link. For example, if you see a message like “Click on this link if you’re not redirected in 5 seconds,” that’s a client-side redirect.
-
Server-side redirects: This redirect occurs when the server sends a redirect status code. When a user clicks on an old link and automatically lands on a new page, a server-side redirect is taking place.
How to Redirect a URL on WordPress via .htaccess
An .htaccess file is a configuration file that tells your server how to display pages from the WordPress root directory.
Use this method only if you’re a web developer, or if you’re very familiar with your WordPress CMS’s technical backend.
WordPress Redirects via .htaccess File
To redirect a URL using your .htaccess file, first verify your web host’s .htaccess editing rules. Check that you have edit-level access.
Back up your site and create a copy of your current .htaccess file. This way, you can revert to your original file if something goes wrong.
In the root directory, add this line of code at the top:
Redirect 301 /current-page.html http://www.yoursite.com/new-page/Further reading: Complete .htaccess File Tutorial: What It Is & How to Use It
How to Redirect a URL on WordPress with a Plugin
Using a plugin is an easy way to implement redirects in WordPress. Many plugins are available, and they reduce the chance of errors.
Most follow the same basic process:
-
Download and install the plugin
-
Go to the “redirects” section
-
Add the old URL and the new, target URL
-
Test the redirect
Below are examples using three plugins: Yoast SEO, Redirection, and 301 Redirects.
Yoast SEO
Yoast SEO is a trusted WordPress plugin for various SEO tasks, including redirects.
Start by logging into the backend of your website and backing up your site.
Download the Yoast SEO plugin from the WordPress plugin directory.

After installation, go to the “Plugins” page and click “Activate.”
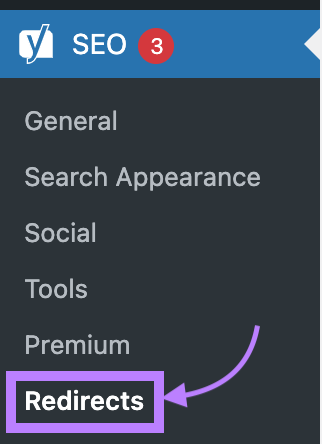
In the left-hand toolbar, select the Yoast menu (“SEO” next to the “Y” symbol). Then, select “Redirects.”
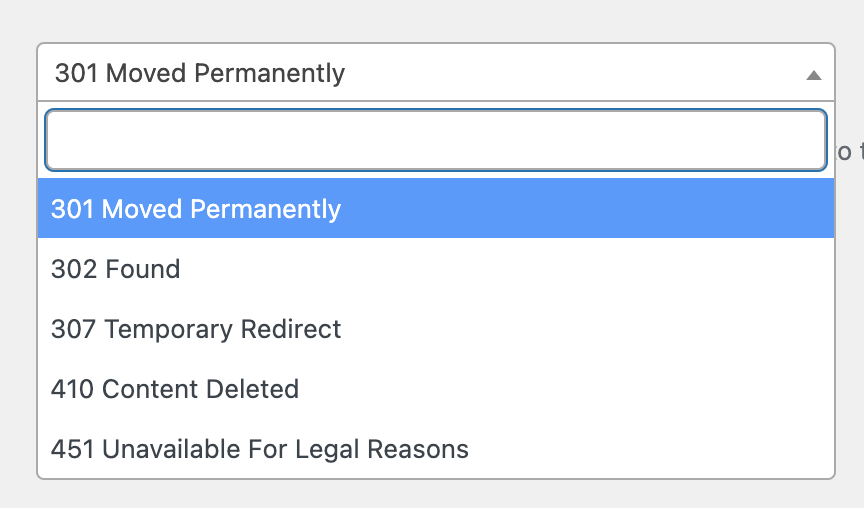
Choose the type of redirect:
-
301: Permanently moved, the final destination
-
302: Found but moved temporarily
-
307: Temporarily redirected
-
410: Content deleted (for old, outdated content you want to delete)
-
451: Unavailable for legal reasons
Enter the old URL slug and the new destination URL. Click “Add Redirect.”

Test the redirect by typing the URL into your browser. If the redirect fails, clear your browser cache and try again.
Redirection
Redirection is a user-friendly plugin created by John Goodley for WordPress URL redirects.
As with Yoast, back up your site before installing a new plugin.
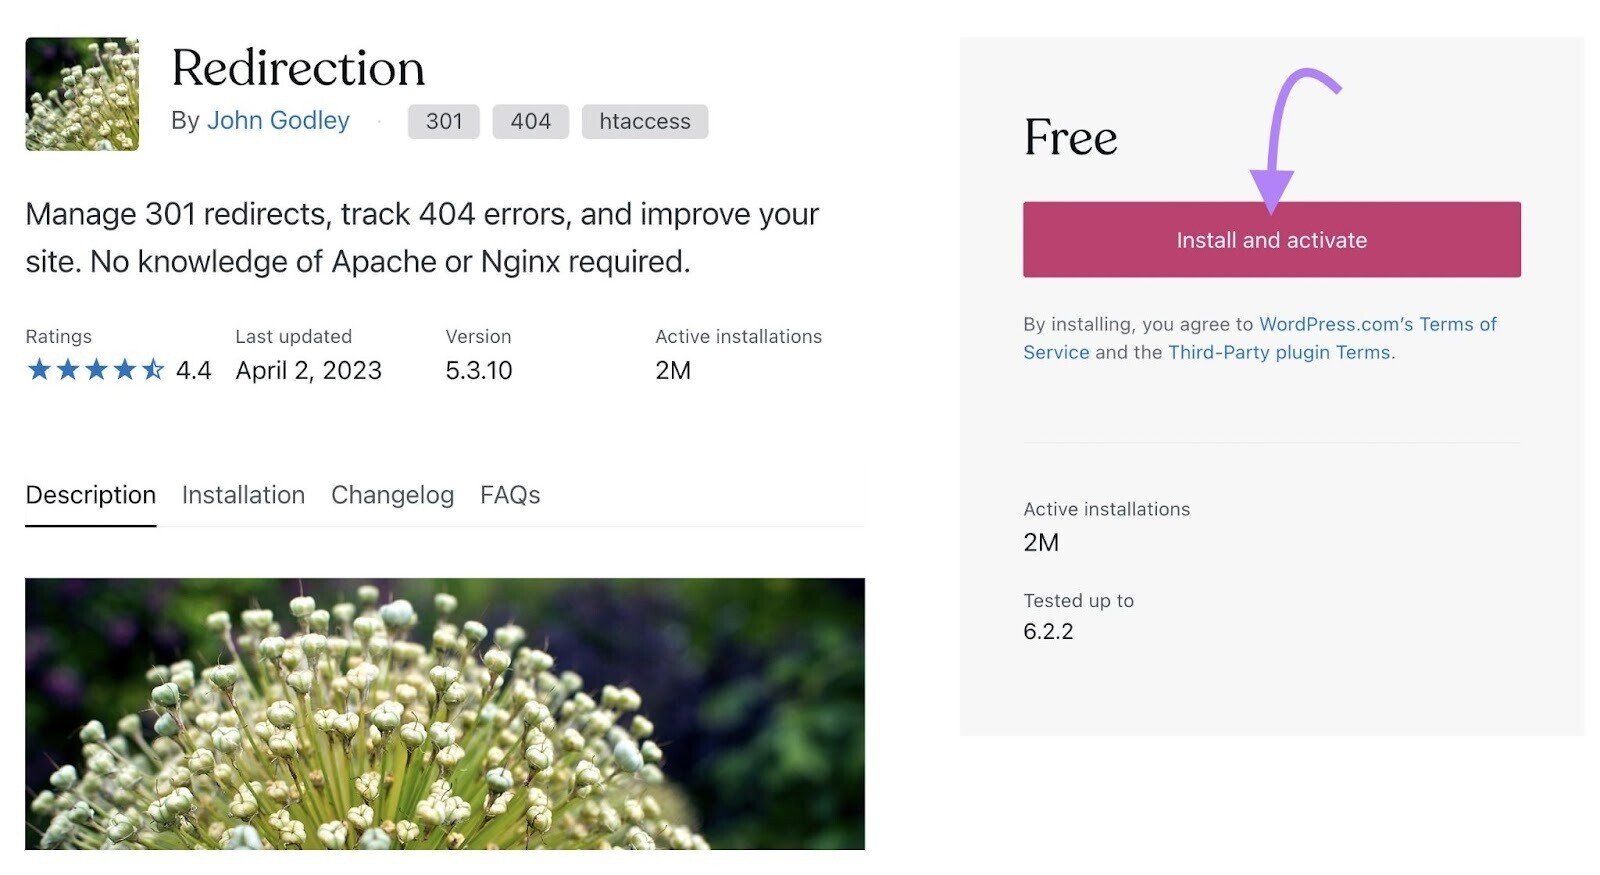
Download and install the Redirection plugin from the WordPress plugin directory.
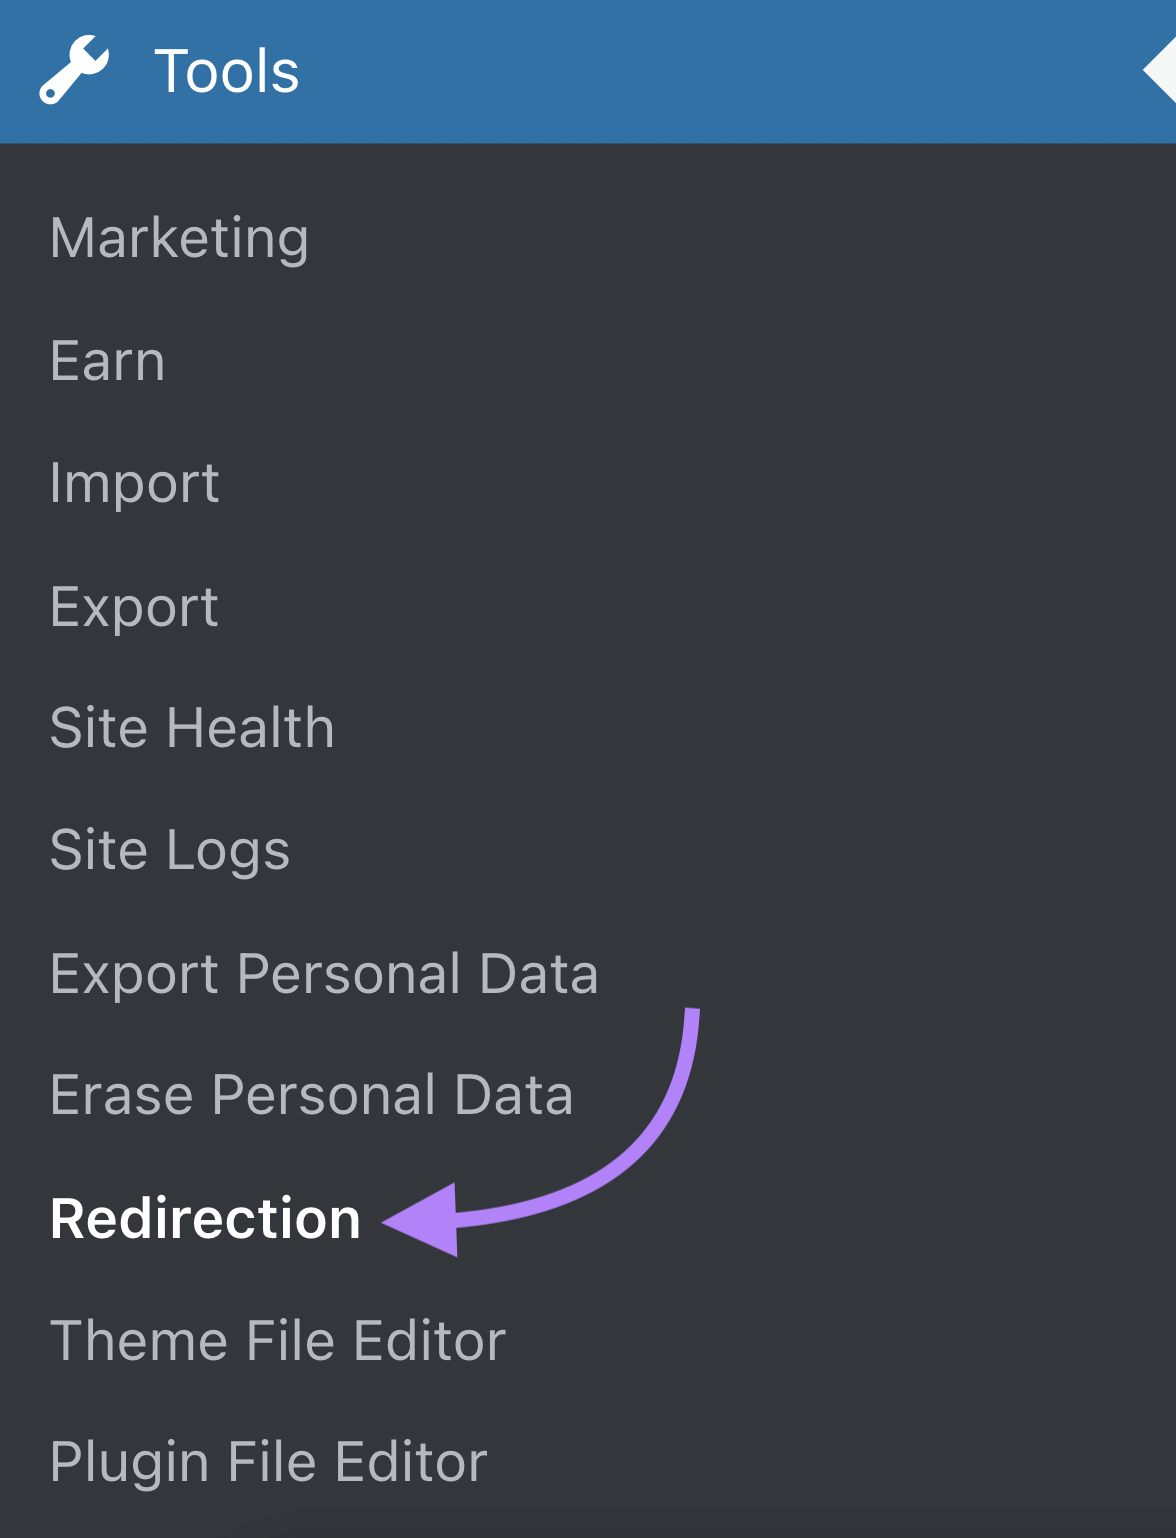
In the left-side menu panel, go to “Tools” and select “Redirection.”
Click “Add New” at the top of the page.
Enter the slug of the old URL in the “Source URL” field.
Enter the new URL slug in the “Target URL” field and click “Add Redirect.”

Test the redirect by visiting the old URL. If the page doesn’t redirect you, clear your browser’s cache and try again.
301 Redirects
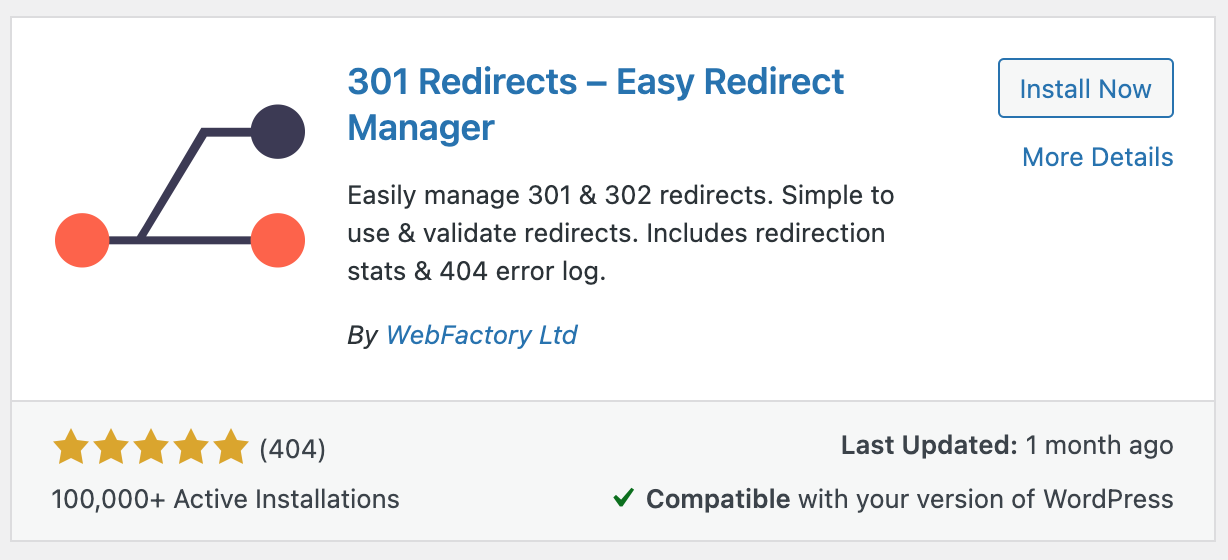
301 Redirects is another plugin that makes it easy to redirect URLs in WordPress.
Back up your site. Then download, install, and activate the 301 Redirects plugin.
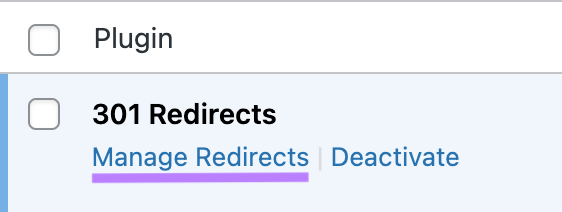
Go to the “Plugins” page. Under “301 Redirects,” select “Manage Redirects.”
Choose the ID or redirect type (301, 302, or 307).
Add the slug of the old URL in the “Redirect From” field.
Next, enter the new URL in the “Redirect To” field. Click “Save.”

The 301 redirect is now live. Test it by visiting the old URL. If the redirect fails, clear your cache and try again.
Find & Fix Broken Links
Find and fix broken links and redirect errors as soon as possible.
Here’s why:
If a user clicks on a link and encounters a 4xx error, they might leave the page—and your website.
This poor user experience also affects your SEO.
Running regular website audits can help you find any problems that arise as you update your site. For instance, if you move a page and forget to add a redirect, a site auditing tool can discover the resulting error.
To audit your site for broken links, use Site Audit.
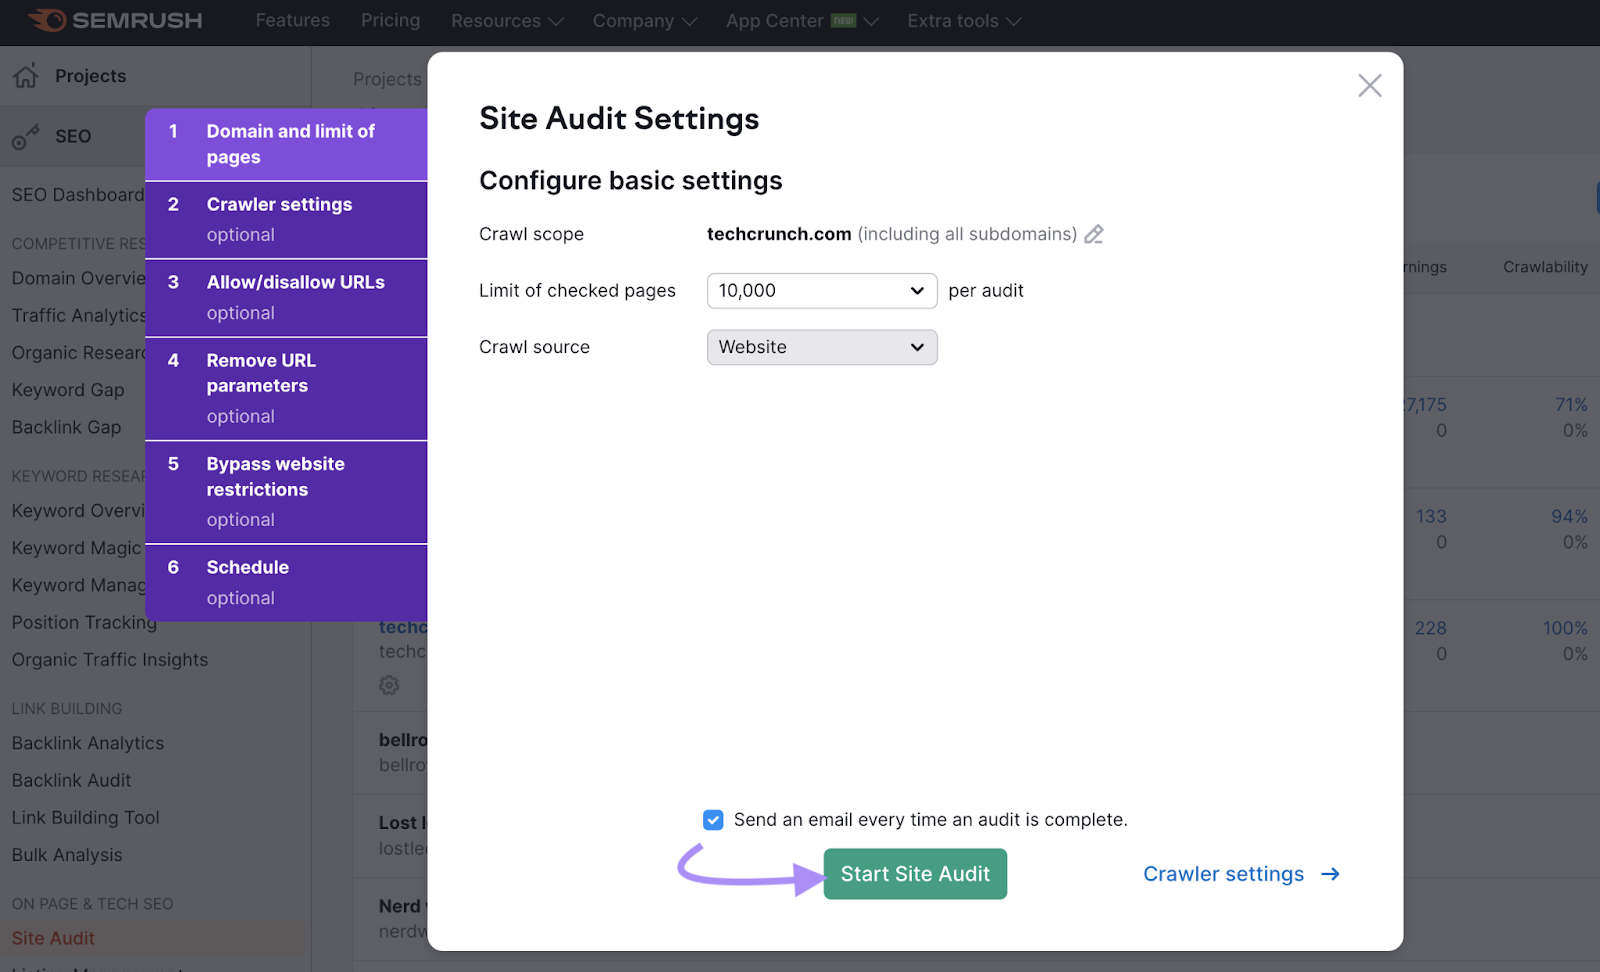
Enter your domain into the tool and click “Start Audit.”

After configuring your settings, click “Start Site Audit.”
In the dashboard, go to the “Issues” tab and type “broken” in the search bar.
Like this:
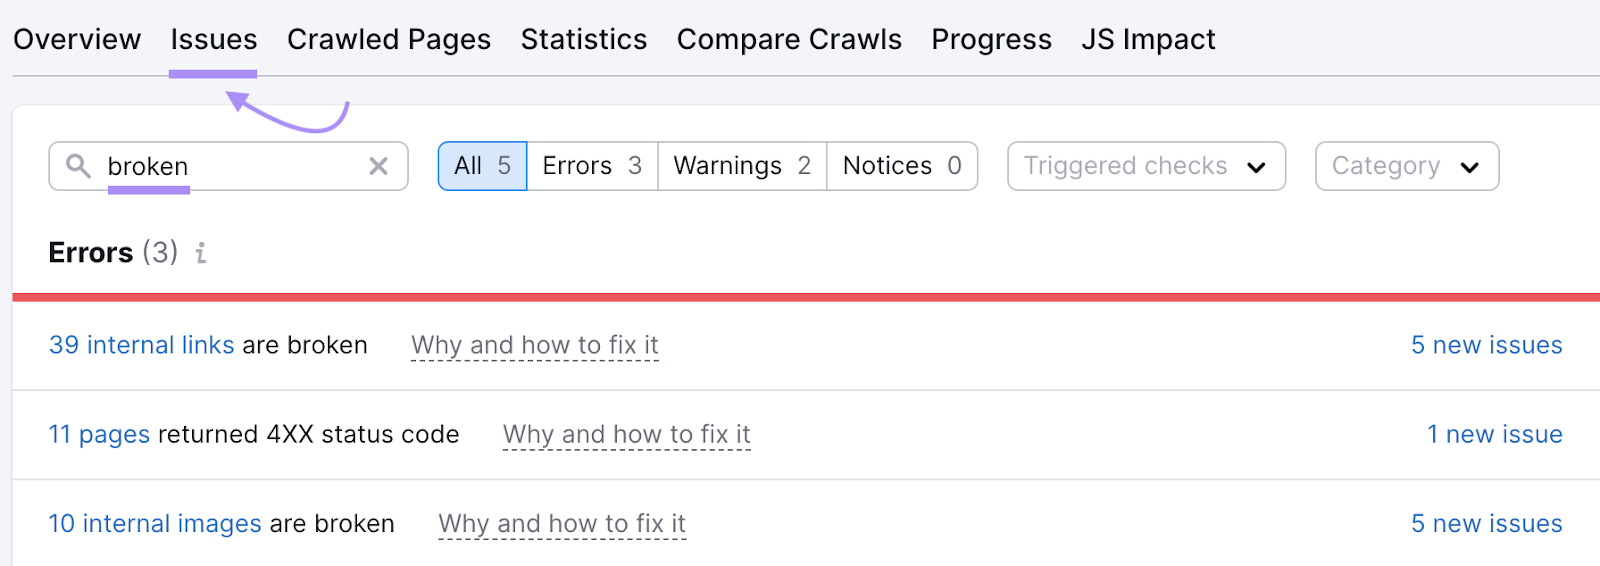
You’ll see all the “Errors,” “Warnings,” and “Notices” about broken links on your site.
Fix as many issues as possible, starting with “Errors.”
Issue: Pages with Temporary Redirects
Temporary redirects aren’t fully SEO-friendly.
Search engines may index the redirected page, but the new page won’t receive page authority from the old page’s backlinks. Losing these backlinks can negatively affect the page’s ranking and traffic.
To check for temporary redirect issues, open your Site Audit report. Click the “Issues” tab, and type “redirect” in the search bar.
You’ll see a list of all the “Errors,” “Warnings,” and “Notices” on your site related to redirect issues.
Click “Why and how to fix it” beside each issue and follow the instructions.

Issue: Broken Internal Links
Broken internal links occur when a page on your website links to another page on your site that’s moved or no longer exists.
Use Site Audit to find broken internal links on your site.
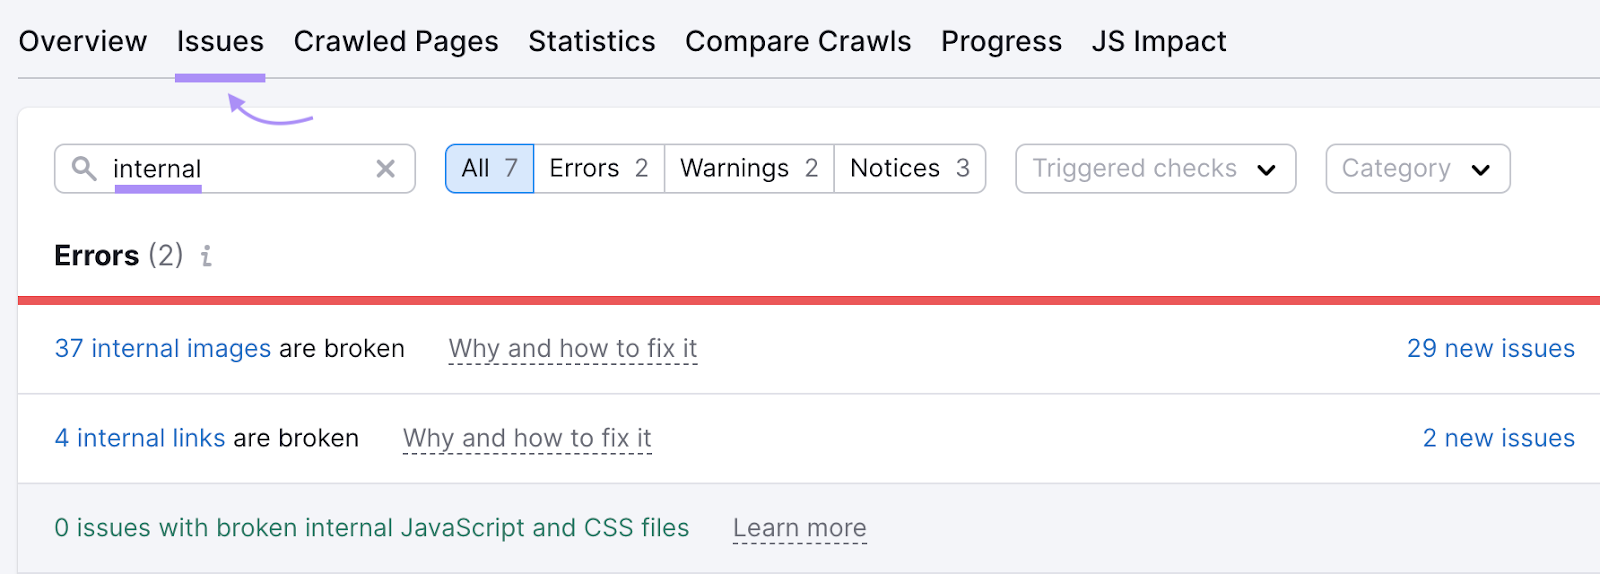
Open the “Issues” tab and type “internal” in the search bar.
You’ll see a list of related “Errors,” “Warnings,” and “Notices.”
Click on the blue link in the issue description for a full list of affected pages. Replace each link to a broken page with a link to another relevant page.
Set Up Recurring Redirect Audits
Set up recurring redirect audits to find and fix redirect issues quickly and keep your site maintenance manageable.
Broken links and pages can harm your SEO. Redirecting is an easy way to prevent negative effects on your rankings.
Luckily, redirects are simple to implement or fix when you run audits regularly to catch broken links early.
To schedule automatic audits, click the gear icon in the top-right corner of the Site Audit dashboard.

Under “Site Audit settings,” scroll down and click “Schedule: Weekly, Every Tuesday.”
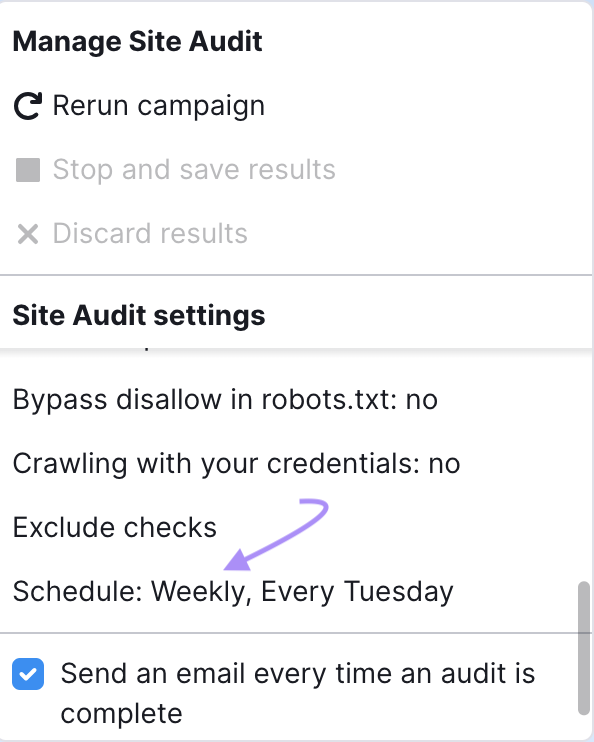
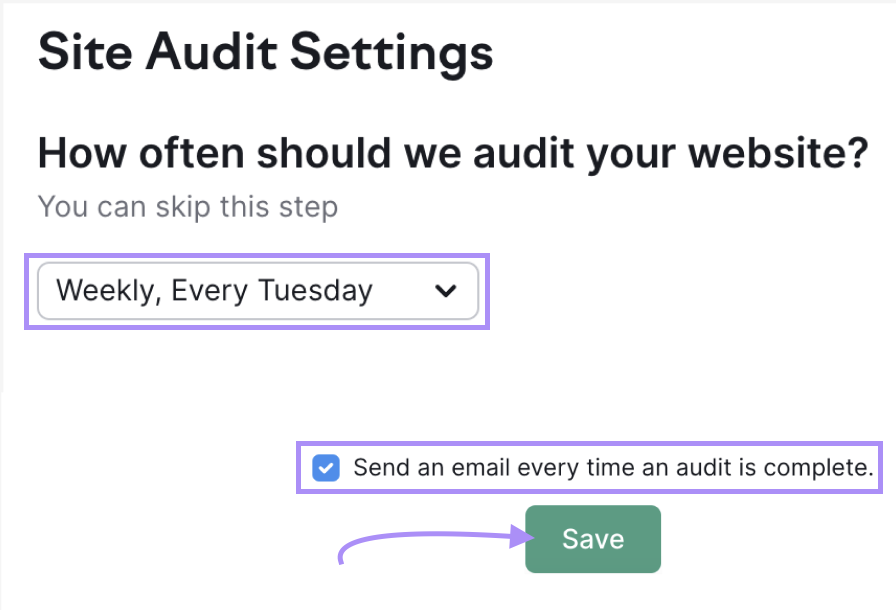
Select your preferred day of the week from the drop-down in the “Site Audit Settings” popup.
Check “Send an email every time an audit is complete.”
And hit “Save.”
Fix any redirect issues on your WordPress site as soon as they appear.
Redirect traffic—and page authority—to relevant pages that work. And give your site’s user experience and search rankings a boost.


